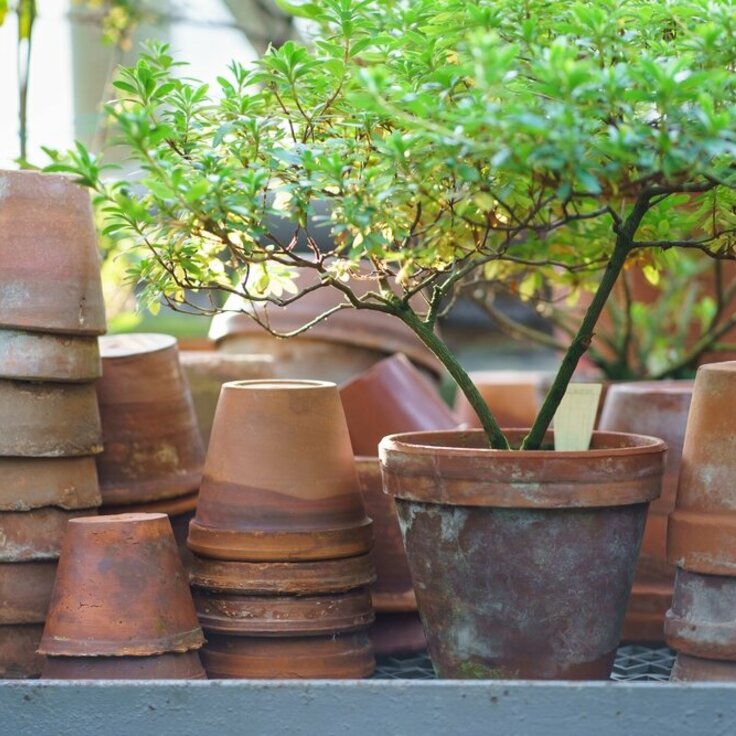
Pot up an amaryllis bulb
Planting amaryllis now will bring colour in the darkest winter months, says Amateur Gardening’s Michelle Wheeler
IN JANUARY, when the weather is bleak and the garden is less appealing to wander around, I look for a blast of colour in the house. Yes, we have daffodils and hyacinths to grow in pots, but it is the amaryllis (or the hippeastrum if you prefer) that bowls me over.
The supersized flowers are big and loud, and they definitely add a splash of colour in the New Year dullness (they also make great party gifts – an amaryllis bulb will make a pleasant change from turning up with a bottle of wine or a
box of chocolates).
The bulbs can be planted (or, more correctly, potted up) indoors any time between October and January. They should flower approximately seven weeks afterwards.
I plant a few over a period of weeks to make sure at least one is at the right stage of growth to give as a gift, or to provide colour in the house.
Stem heights vary, but may reach up to 3ft (90cm) – they definitely deserve pride of place in a sunny spot indoors. And this year I intend to keep them going – to save money next year! Follow my aftercare tips (right) for year-on-year dazzle!
After flowering
* Once the bulb has finished flowering, feed weekly with a general liquid fertiliser.
* Site it outdoors during summer; avoid strong sunlight; keep the compost moist.
* In September bring it into a cool room. Reduce watering. Stop feeding – to induce the plant into a period of dormancy. Cut any old leaves off, to within 4in(10cm) of the neck of the bulb. Refresh the top inch or two of compost. Leave for about eight weeks (check for water occasionally).
* In November or December bring the bulb into warmer conditions and grow on to flowering.
* If your amaryllis needs re-potting, do this after flowering, usually every two years.
Potting up an amaryllis bulb
Step-by-step
1
Half fill a 7in (17.5cm) or a 5litre pot with a good potting compost. Check the bulb over for any signs of mould or infection; it should be firm to touch.
2
Carefully sit the bulb firmly onto the compost surface, root end down; do not press down too hard as this will damage the delicate roots.
3
Fill in around the bulb with compost, making sure that the neck and top part are showing above. Water in, and site in a warm, sunny place.
QUICK TIP
Once your amaryllis bulb is planted, do not let the compost dry out... but don’t leave it standing in water