An insight to creating your very own vegetable patch
Sick of the rising prices of supermarket goods and want to save money by growing your own garden vegetables? A vegetable patch is the way forward.
It can often be a tricky task creating your own vegetable patch, but we’ve teamed up with Compost Direct who are retailers of topsoil bags to find out more. Read on to find out about the location, size and essential preparations you’ll need to enjoy bountiful veg all year round.
Picking the perfect place for your patch
Often overlooked by new gardeners eager to start growing is the location of where you put your vegetable patch. Like most plants, vegetables grow best in sunny conditions—so choosing a shady spot for your vegetable patch is a big no-no.
First, monitor your garden and find a space that receives a minimum of five hours of sunlight per day — this can benefit the vegetables that you grow. Making sure your patch is away from other plants will also help protect your crops from pests like slugs and snails.
If your garden is a wind trap, you might need to shelter your vegetable patch. Try to choose an area that’s sheltered, although don’t worry too much if this isn’t possible. A slatted fence or windbreak around your patch will be enough to protect your plants from breaking.
Picking the perfect size for your patch
You don’t want to challenge yourself too much as vegetable patches can be hard to maintain — but you also want it to complement your garden size. The size you choose should be proportional to your garden – a large patch in a smaller garden will overwhelm the space while limiting yourself to a small area in a larger garden will mean you can grow less.
The amount of time you can dedicate to your vegetable patch is something you also need to look at. Even the most experienced gardeners can struggle to maintain a larger space, so always consider what you can realistically achieve. If your space is too large, you may find yourself demotivated.
Setting up your vegetable patch
Once you’ve finalised on the size and location of your patch, it’s time to set it up properly.
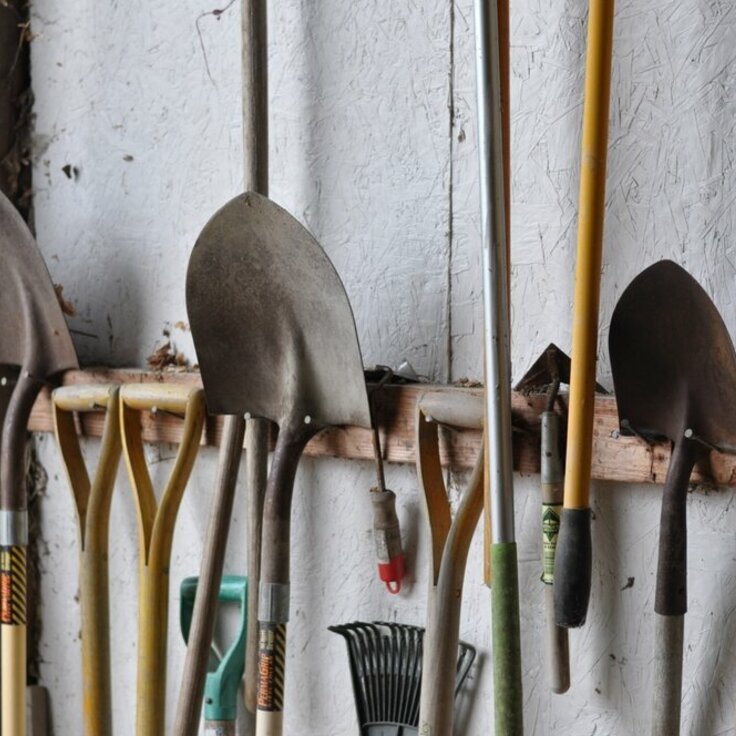
Tough soil? Here’s what to do:
You don’t want to plant your vegetables in tough soil, so it’s essential to loosen it up. Using a spade, dig over the entire area, digging down at least the depth of the spade. Where possible, dig further — this will allow more room for the roots of the plants to grow.
When you do this, it’s important to remove any weeds that you may come across. Try to remove any stones or rocks you may find, as these could hamper the growth of your veg.
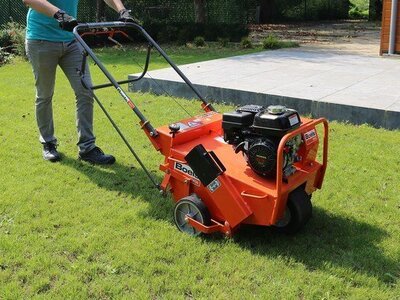
Improving the quality of your soil
When you’re digging up your preferred location — it’s unlikely that you will find the ‘perfect soil’ to plant in. In the vast majority of cases, the soil will need to be improved in order to provide all of the nutrients your crops require.
To ensure healthy growing veg, you need to improve the quality of your soil and this can be achieved by compost that is used for vegetable patches or well-rotten manure. Be aware that if the manure isn’t rotted correctly, it may overpower the plants with its nitrogen-rich content.
However, it’s important to have an understanding of the types of vegetables you want to grow in your patch. Keep in mind that some plants grow best in more alkaline or acidic soil conditions. Alter how you treat your soil to reflect your plants’ needs.
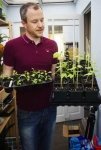
The planning and planting process
After you’ve prepared your soil to suit what you will be planting, you need to determine where you will place your plants within the patch. You should already have a good idea of the vegetables you’d like to grow, so now you’ll just need to consider where to grow them.
If you’re looking to grow your plants in the most efficient way — do not overload your patch as this can prevent growth. Follow the directions for spacing as outlined on the vegetable plant label or seed packet to enjoy maximum return from your labour.
Remember to envision how your plants will grow within the area. For example, green beans will be best placed next to a wall or fence, as they usually wrap around objects as they grow. Alternatively, you could just make sure they have a stake or trellis to climb.
Now, begin planting your newly acquired vegetable seeds! Remember to plant vegetables in groups, rather than sowing the seeds randomly. This will make it easier when it comes to digging up your veg, as you’ll know where each different type of vegetable has been planted.