Mastering the Art of Pumpkin Carving: A Step-by-Step Guide
Carving a pumpkin is a quintessential part of the Halloween experience, and with a few expert tips, you can transform a simple pumpkin into a spooky or whimsical masterpiece. Let's delve into the step-by-step process of creating your own carved pumpkin.
Choose the Right Pumpkin
Start your pumpkin-carving journey by selecting a fresh, firm pumpkin. Look for one with a flat base to ensure stability and a stem that's intact. A smooth surface will make carving and detailing easier.
Gather Your Tools
Equip yourself with the right tools for the job. A serrated knife, a large spoon or scoop for removing seeds and pulp, and smaller carving tools or saws for intricate details are essential. Pumpkin carving kits are readily available and can make the process smoother.
Create a Design
Before diving in, sketch your design on paper or directly onto the pumpkin. This helps you visualise the final product and ensures a smoother carving process. Simple designs work well for beginners, but as you gain confidence, you can tackle more intricate patterns.
Cut an Opening
Begin by cutting a hole around the stem of the pumpkin. This will serve as the lid. Angle your knife inward so that the lid can sit on top without falling inside. Once removed, set it aside to access the interior.
Scoop Out the Seeds and Pulp
Use a large spoon or scoop to remove the seeds and stringy pulp from inside the pumpkin. A clean interior provides a better surface for carving and prevents premature rotting.

Transfer the Design
Tape your design onto the pumpkin or use a washable marker to trace the outlines directly. Ensure the design fits well within the pumpkin's dimensions and allows for easy carving.
Begin Carving
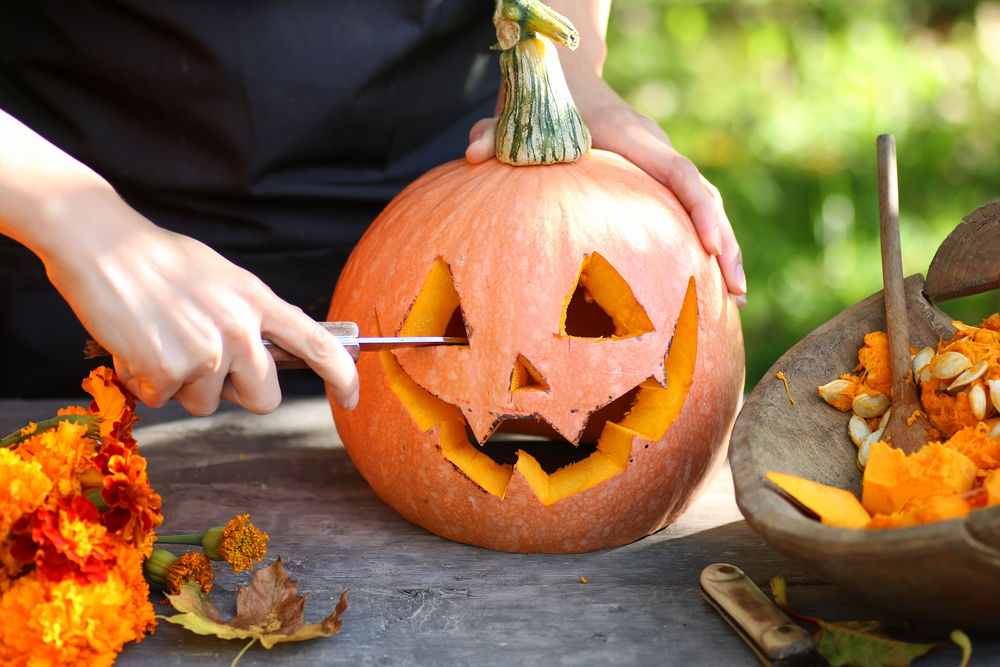
Start with the larger sections of your design. Use a serrated knife to cut along the outlined areas, working from the centre outward. Take your time and make smooth, controlled cuts to avoid mishaps.
Add Detail with Small Tools
For intricate details, switch to smaller carving tools or saws. These are especially handy for creating fine lines, curves, or cutouts. Patience is key; don't rush the process.
Clean Up Edges
After completing the carving, tidy up any rough edges with a scraping tool or the edge of a spoon. Smooth out the interior of the cuts to enhance the overall appearance.
Illuminate Your Creation
Place a candle or LED light inside the pumpkin to bring your creation to life. The flickering light will cast shadows and highlights, adding an extra dimension to your carved masterpiece.
Preserve Your Pumpkin
To prolong your pumpkin's lifespan, apply petroleum jelly to the cut edges. This helps seal in moisture and prevents premature wilting. Display your pumpkin in a cool, dry area when not in use.
Now that you've mastered the art of pumpkin carving, let your creativity flow, experiment with different designs, and showcase your unique creations this Halloween. Happy carving!


