How to clean up your strawberry patch to improve harvest
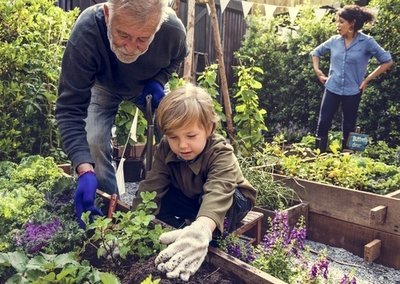
If you are considering having strawberry plants in your garden, you need to know that they are perennial plants. This means that you can enjoy the fruity goodness of your ripened strawberries in the first 5 years of the strawberry plant because that is when they are the most productive. However, they still do need their share of yearly maintenance in order to produce a decent harvest. Renovating your strawberry patch and cleaning it up is a vital part of its yearly maintenance. The cleanup process is very simple and can be carried out even by the most inexperienced of gardeners so don’t let your lack of gardening skills keep you from taking good care of strawberry beds and producing plump strawberries the next growing season.
Cleaning up
If you want to make your strawberry patch as productive as possible, you need to be diligent with the cleanup of the patch. Remember, every dead plant material is an invitation for pests and diseases to have at it at your strawberry plants. After cutting the strawberries back, you need to get rid of all the removed plant materials and trimmings. A flexible rake works best for this job because you can use the vast area of the rake to cover more ground without damaging the strawberry crowns due to the rake’s flexibility. You can dispose of all this collected dead plant material or compost it. However, if your strawberry plants have struggled with a disease the previous growing season, you must not compost the trimmings, dispose of them instead.
Renovation process for your strawberry bed
Strawberry plants can establish themselves better if they don’t have to compete with weeds nearby for essential nutrients and water. The first thing you need to do is keep the strawberry clear of weeds throughout the year. Remove any weeds by the roots as soon as you spot any. Next, before the new growth begins you need to get rid of all the leaves to ensure that maximum nutrients are available for the growth of strawberries without being utilized by the leaves. You can even use a low mower for this task to clip the leaves right off without damaging the crowns. This will help regenerate the planting.
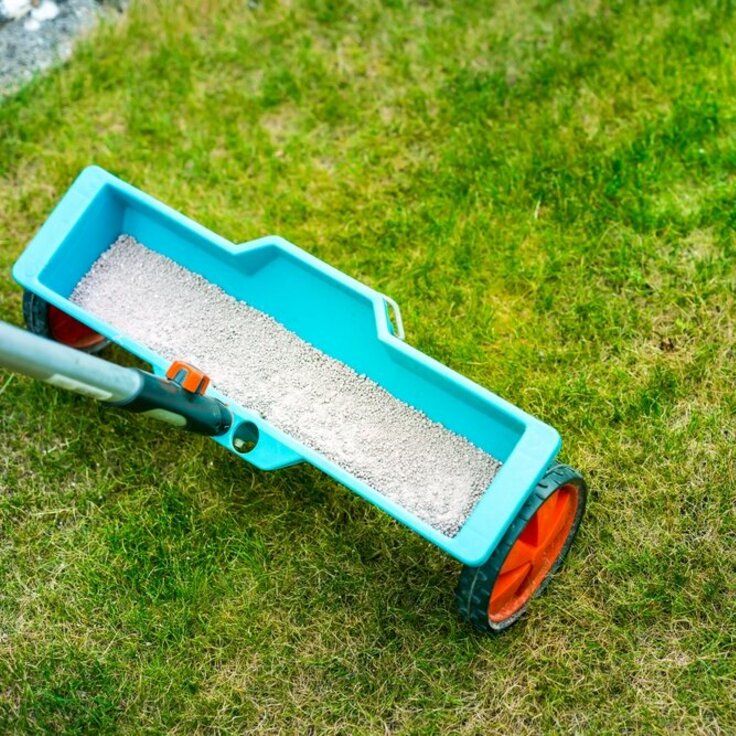
Then, till between the rows of the strawberry plants in the bed. Make sure you remove the plants that are too far away from the row, keeping every row about 12 inches wide. Next, you need to start thinning the strawberry plants in a way that you leave at least 4 – 6 inches of space between every successive plant. These plants will develop into more productive plants as they grow. Finally, apply fertilizer at the sides of the rows and deposit approximately 1.5 inches of soil on top of the bed. When watering your strawberry bed, make sure each plant receives at least 1 inch of water every week. Now, it is just a matter of time before your strawberry bed grows into a luscious patch with lots of strawberries waiting to be picked.